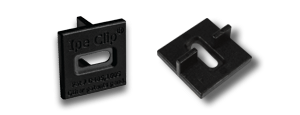
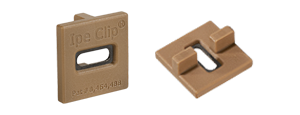
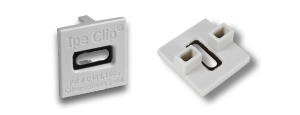
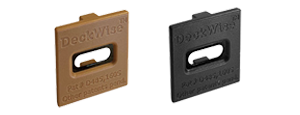
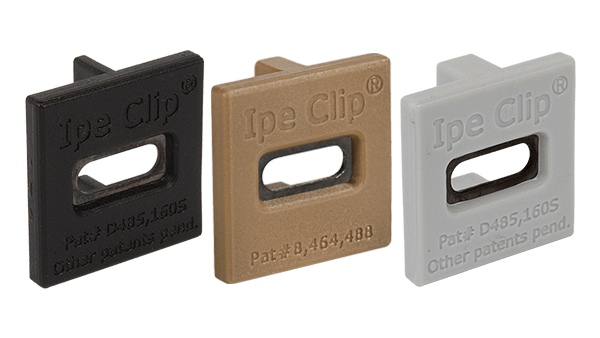
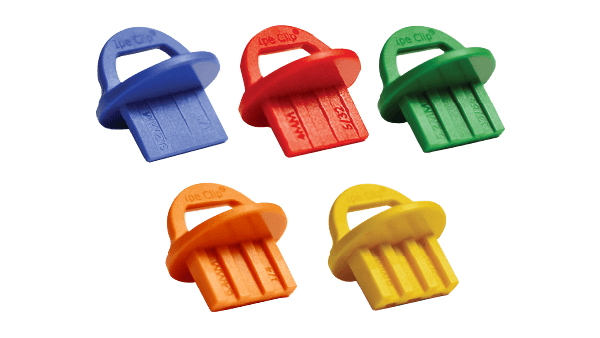
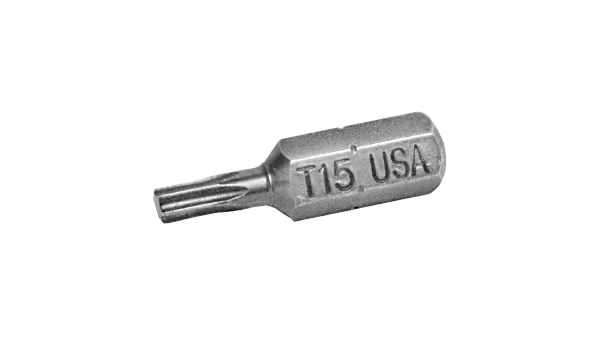
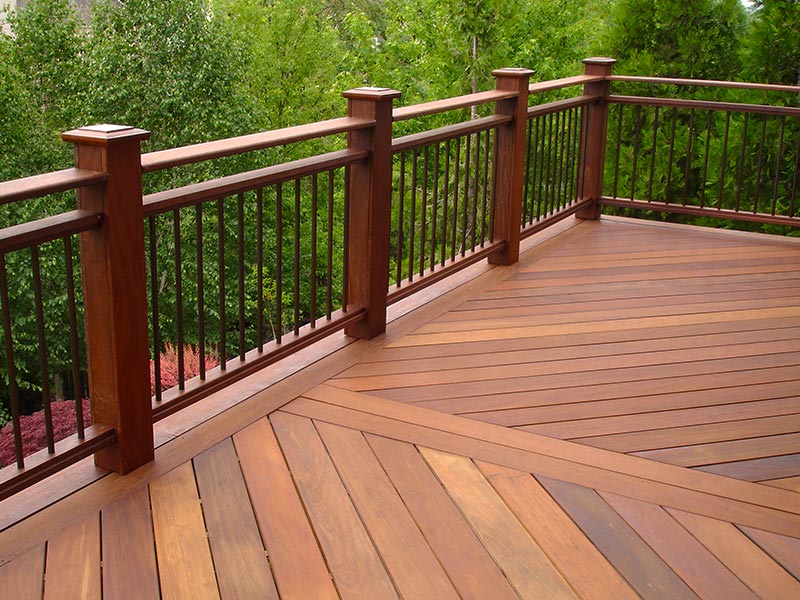
The Made in the USA DeckWise® flagship decking product, Ipe Clip® Hidden Deck Fastener, consists of an injected mold hidden deck edge-mount clip containing a black oxide steel insert. Known worldwide as the #1 fastener for exotic hardwood decking, this is the “original” patented invisible biscuit deck fastener.
There's nothing on the market that compares to its’ quality strength. With up to 3X the hold-down strength than other hidden clip brands, some imitate but none compare.
So why choose a hidden deck clip system when there are so many different styles of fasteners on the market? Why DeckWise®? It’s simple, really. Your project needs strong, long-lasting materials that can be relied on. Besides, every company out there says their deck fastener system is the best and most durable.
So, what do we say? Honestly, we suggest you do your own research on the best way to install decking boards for a smooth, blemish-free surface. We’ll wait here.
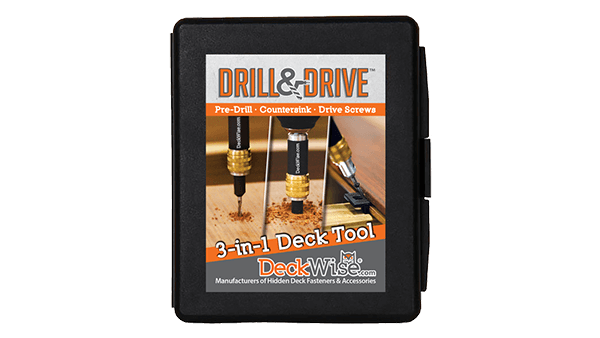
Our Ipe Clip® hidden fastener system was created for the needs of professional contractors and DIY homeowner’s looking for solutions to increase installation production time with innovative tools and a wide range of accessories. DeckWise® has met their demands with “Tough Solutions For Tough Decks®”!
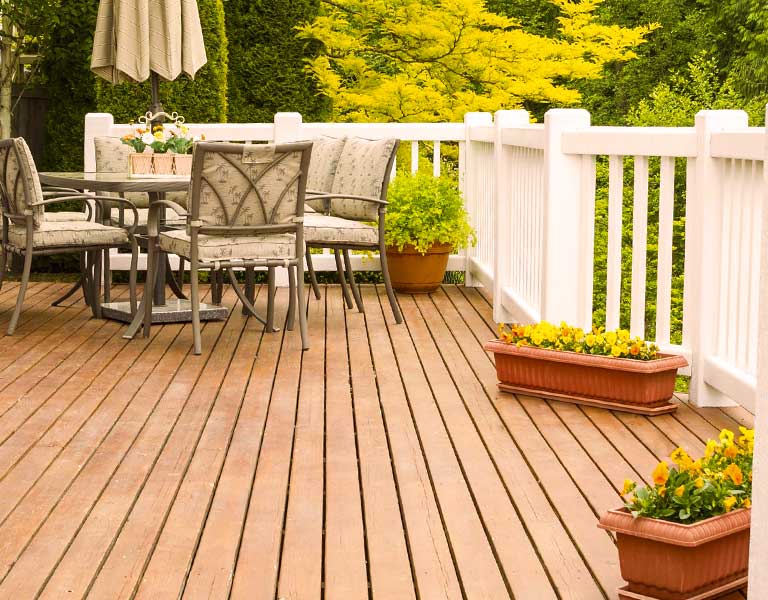
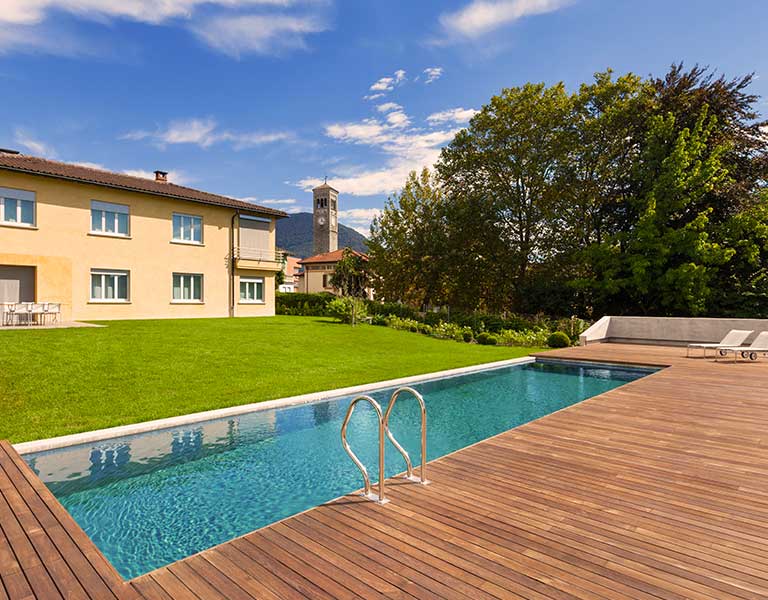
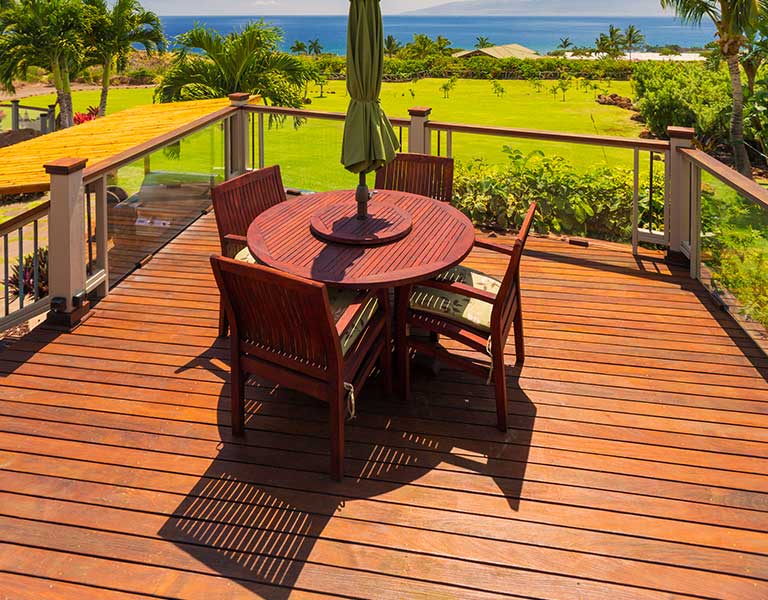
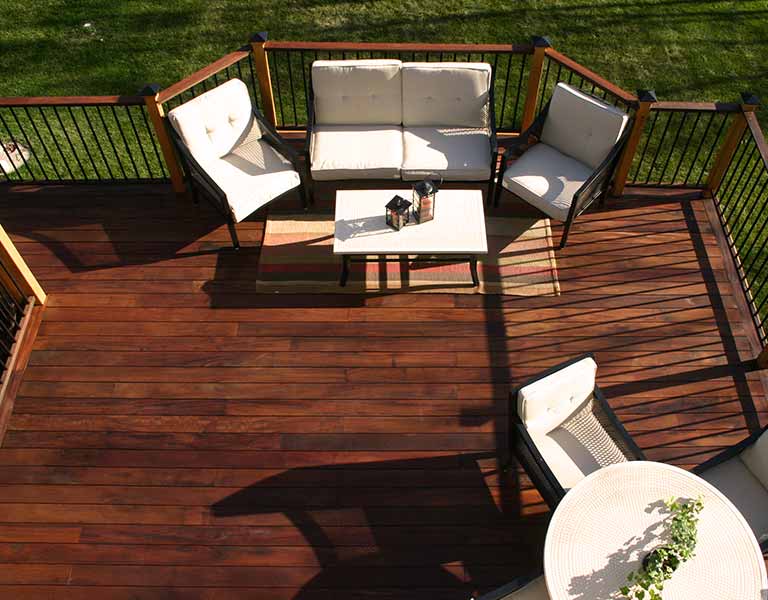
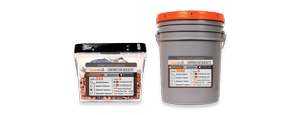
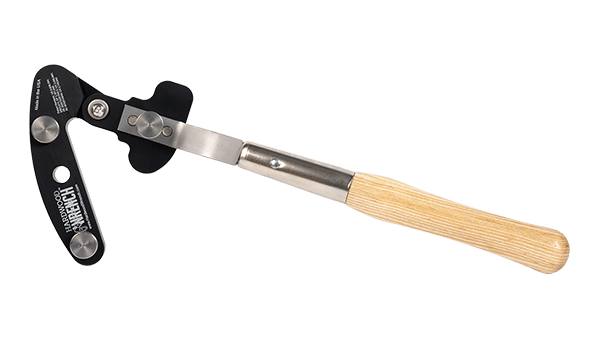
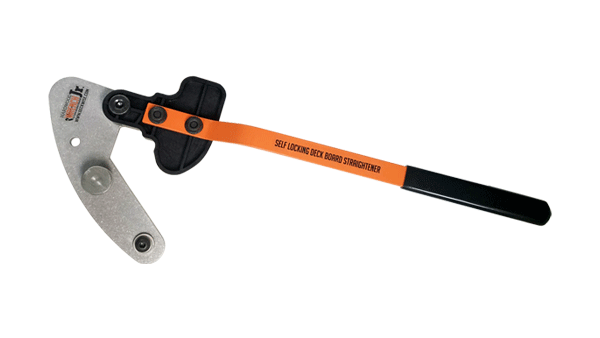
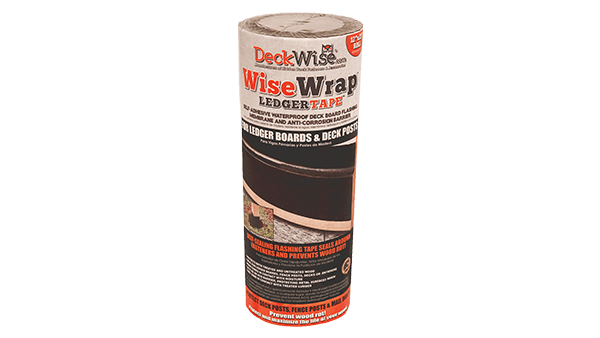
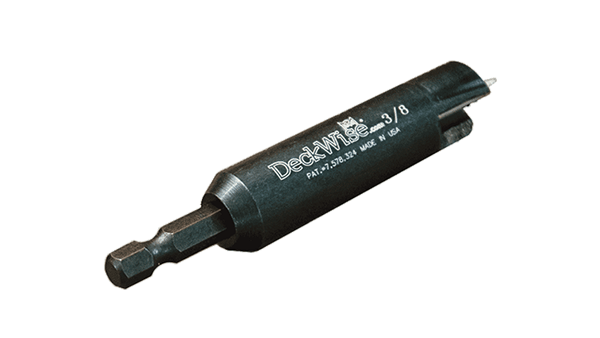
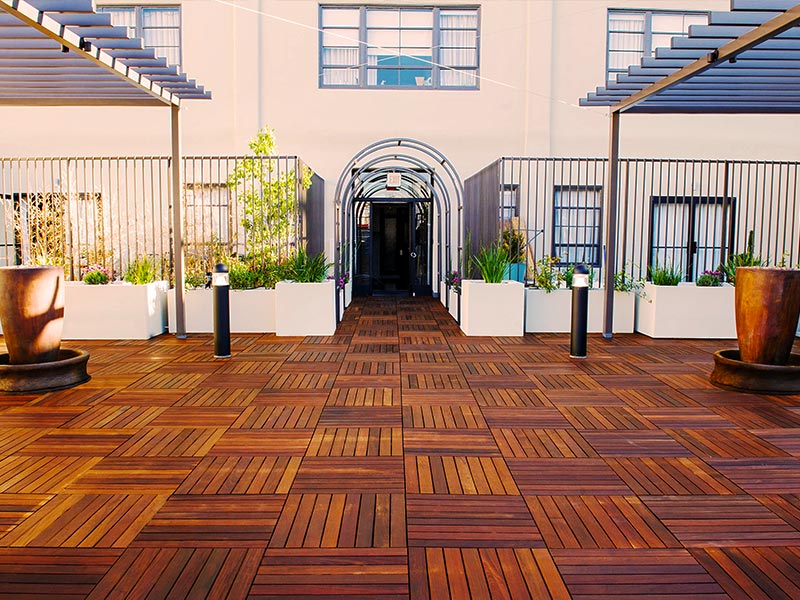
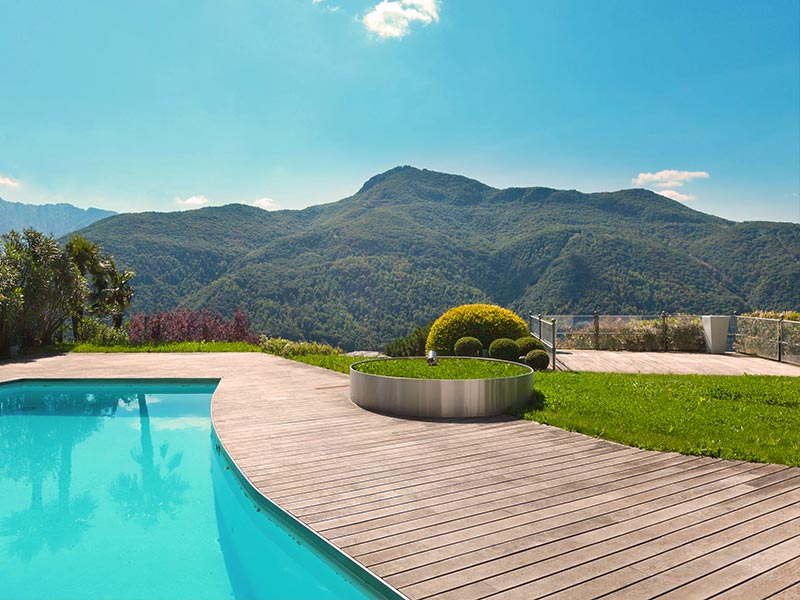
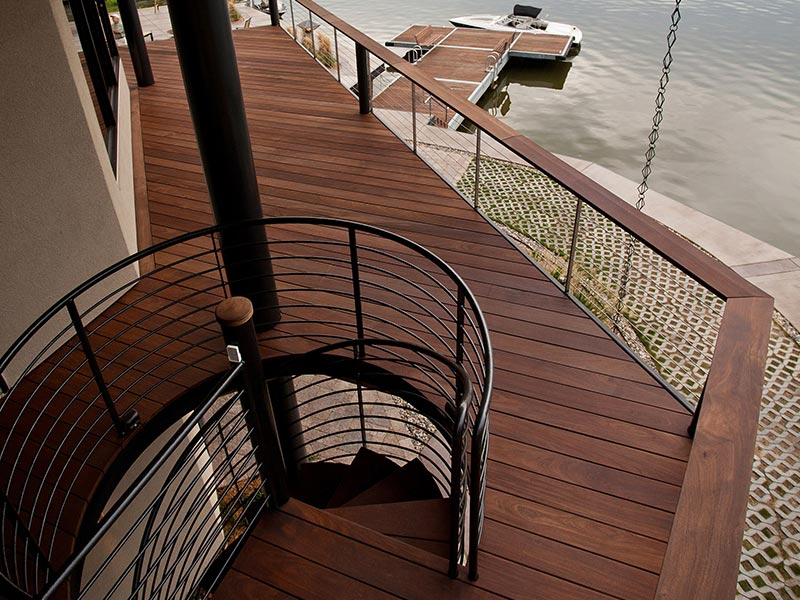
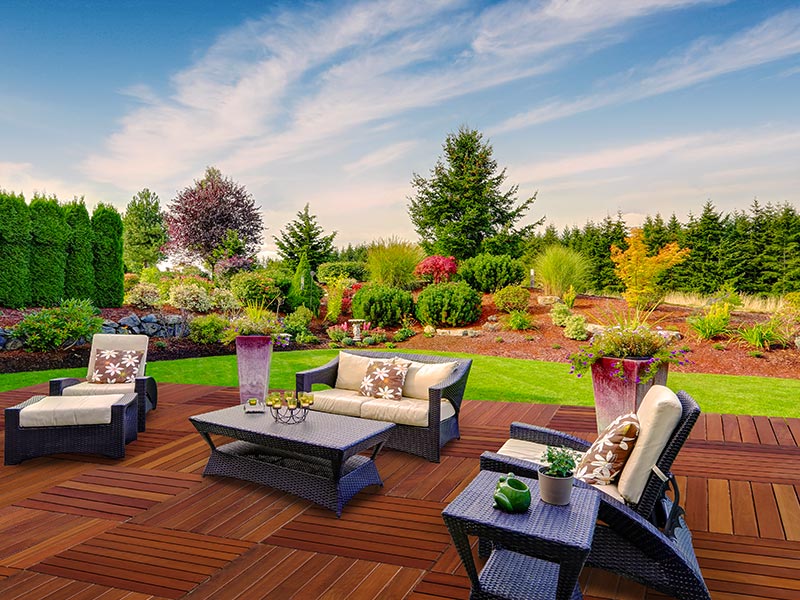
Furthering our footprint into all things decking, we also supply a full line of deck tools, accessories and products for beautifully smooth, exotic hardwood decks, composite decks or thermally modified wood decks that will last for generations to come.

Our Ipe Clip® brand invisible deck clip has a black oxide stainless steel insert molded into a polymer biscuit shape. This unique feature provides unmatched hold-down strength up to 3X other manufacturers.
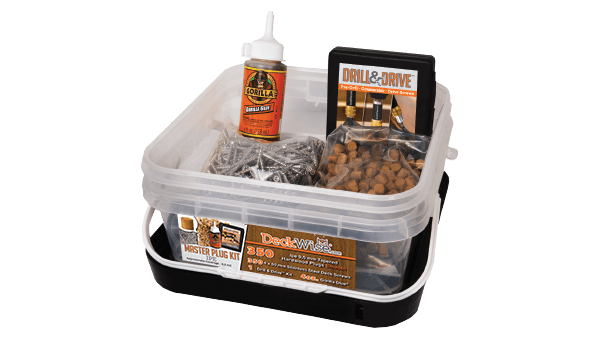
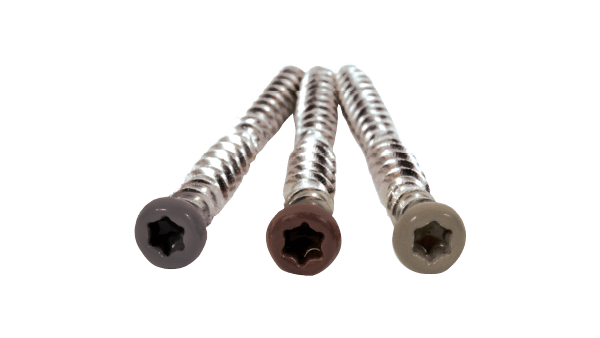
Secure boards with our full line of stainless steel screws. With our large assortment of deck building screws to choose from, we have a product that will meet your needs. We offer an assortment of painted trim-head and all purpose bugle-head screws, heat-treated decking screws, composite face screws, as well as self-tapping metal joist screws.
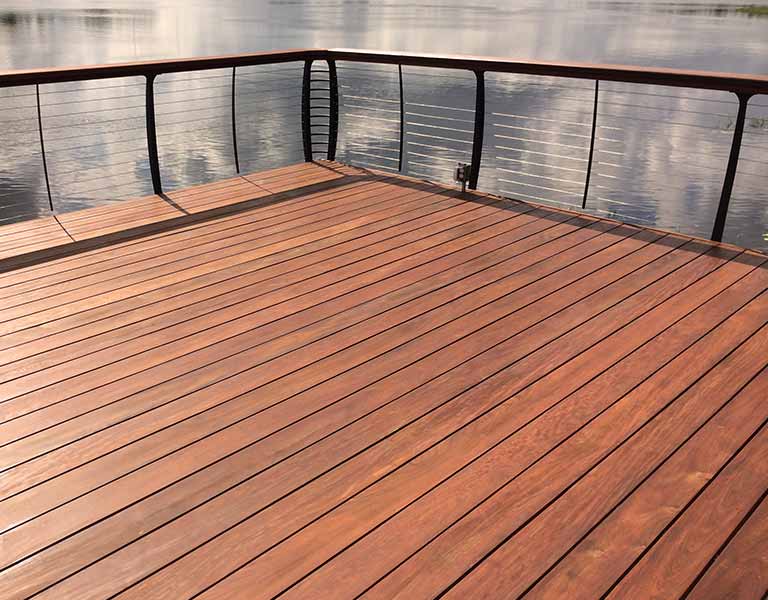
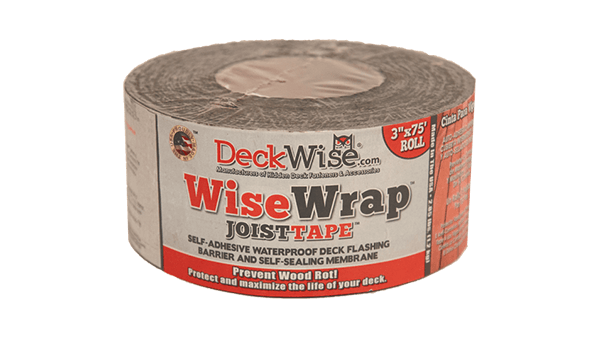
Our fastener system allows decking boards to expand and contract naturally with single edge-mount installation. Likewise, our Ipe Seal® stops end grain splits and checking to ensure the longevity of wooden decking boards.
Beautiful surfaces are achieved with our products such as our Ipe Oil® Hardwood Finish for an enhanced natural wood color. Our hardwood oil is water resistant with a UV protectant to extend the life of your wood.
Our complete line of hidden fastening systems, stainless steel screws, deck building tools and accessories have been manufactured to last a lifetime, and why shouldn’t they? Some professionals say using DeckWise® products allow hardwood decks to last an upwards of 75 years if maintained, cleaned and refinished with a hardwood oil on a regular basis.
Our deck building products have been designed and engineered with the input of professional deck builders in order to match their need for simple and easy deck building products that work.
Each day, DeckWise® makes every effort to produce long-lasting, high-grade deck building materials which are precisely engineered to support contractors and DIY’ers across the US and face of the globe.
Deck building products are not all the same and do not always have American ingenuity behind them. If you are planning a new build or restoration, you’re in the right place to Discover the DeckWise® difference.


